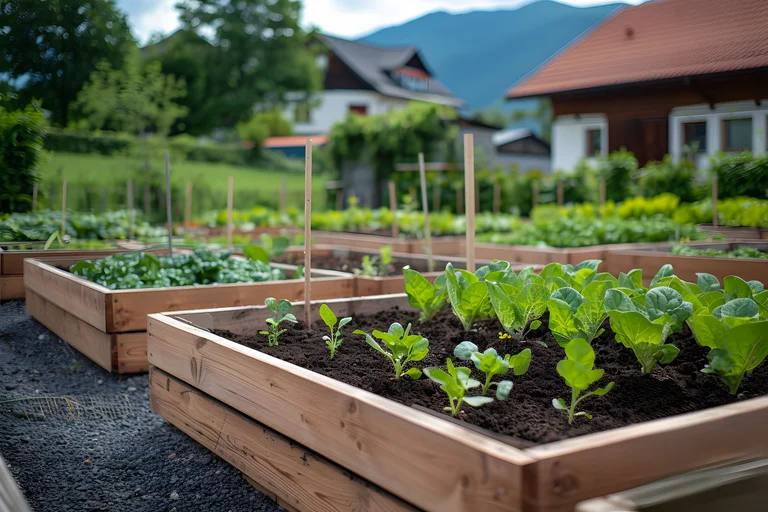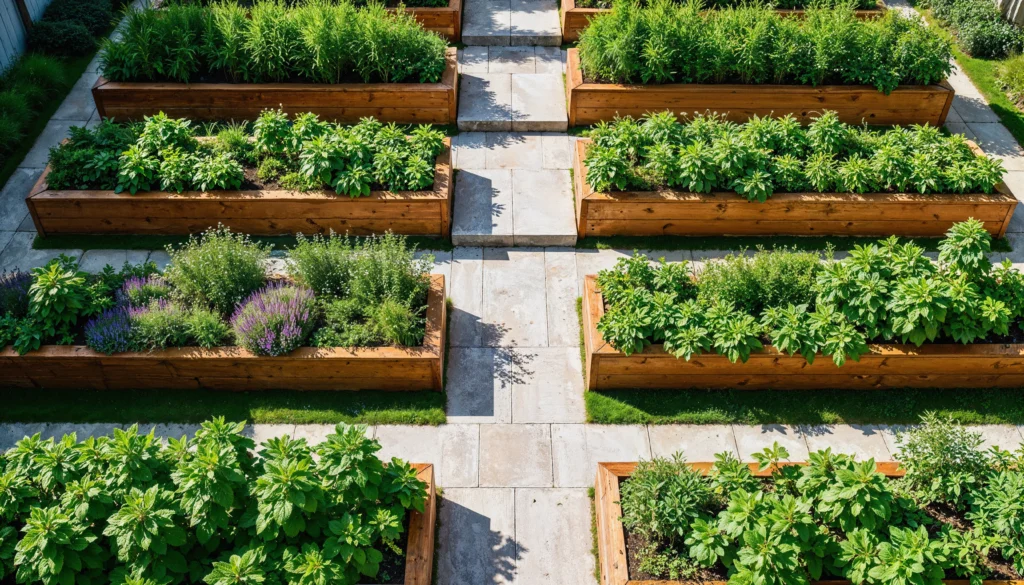
Wooden Raised Garden Beds For Beginners A Step-by-Step Guide
Gardening can be a rewarding hobby, but starting with traditional in-ground gardens can be challenging—poor soil quality, weeds, and pests often get in the way. This is where wooden raised garden beds come into play. They not only provide a neat, organized space for planting but also improve soil drainage, reduce weed growth, and make gardening accessible for beginners.
Whether you have a small backyard or a rooftop, raised beds can transform your gardening experience into something manageable, productive, and aesthetically pleasing. This step-by-step guide will help beginners understand everything they need to know to successfully build their first wooden raised garden bed.
What Are Wooden Raised Garden Beds?
Wooden raised garden beds are elevated planting boxes made from wood, designed to hold soil above ground level. They improve drainage, prevent soil compaction, and make gardening easier on your back. These beds allow gardeners to control soil quality and reduce weeds, creating ideal conditions for vegetables, herbs, and flowers. Popular worldwide, they are especially beginner-friendly and work well in small spaces like yards, patios, or rooftops.

Raised garden beds are not just a local trend; they’re booming globally. In North America, DIY gardening is a big part of home life, and wooden raised beds make it easy to start. Europe also has a strong gardening culture, especially in Germany, the UK, and the Netherlands, where eco-friendly, sustainable gardening is a priority. Globally, wooden beds dominate the market because they’re durable, versatile, and attractive. Beginners appreciate that raised beds solve common gardening problems such as poor soil, poor drainage, and weeds. This global popularity shows that wooden raised garden beds for beginners are not only practical but also part of a worldwide gardening movement. According to a recent global gardening trends report from Garden Research, raised beds are among the fastest-growing gardening methods for beginners.
Advantages of Wooden Raised Garden Beds
Before you start building, it’s helpful to know why so many gardeners prefer wooden raised beds. Here are the main reasons:
- Improved Soil Quality: You can control soil composition, ensuring optimal nutrients for plants.
- Better Drainage: Elevated beds prevent waterlogging and root rot.
- Weed Reduction: Raised beds make it harder for weeds to invade.
- Accessibility: Gardening becomes easier on your back and knees due to the elevated height.
- Aesthetic Appeal: Wooden beds add charm and structure to your garden space.
For beginners, these benefits make wooden raised beds a low-maintenance and highly efficient gardening solution.
Step-by-Step Guide to Building Wooden Raised Garden Beds

Step 1: Planning Your Raised Bed
1. Decide the location
- Choose a spot that gets at least 6–8 hours of sunlight daily if you’re planning vegetables.
- Make sure the ground is relatively level. If it’s sloped, you may need to level or terrace it.
- Think about access: leave room to walk around the bed for planting and maintenance.
2. Measure and size
- A common beginner size is 4 × 8 feet (about 1.2 × 2.4 m)—easy to reach into from both sides.
- For tiny spaces (balconies or patios), you can do 3 × 3 ft or smaller modular beds.
- Decide on height: 10–24 inches (25–60 cm) is typical for wooden beds—tall enough for good soil depth but not too hard to build.
3. Choose the design
- Simple rectangular box—easiest for beginners.
- Modular or stackable beds—good if you plan to expand later.
- Consider including features like corner braces or integrated irrigation.
Step 2: Right & Cheapest Wood for Raised Garden Beds
Because the durability of your raised garden bed depends on the wood, choosing the right type is essential.
- Cedar: A top pick. Naturally rot-resistant, lightweight, and long-lasting.
- Redwood: Beautiful and durable, but can be more expensive.
- Pressure-treated wood: Cheaper, but make sure it’s safe for gardening (i.e., non-toxic treatment).
- Reclaimed wood: An eco-friendly option, but check for chemicals or contaminants.
Also, think about support: use 4×4 corner posts or brackets for strength, especially for deeper or larger beds.
Step 3: Building Your Wooden Raised Garden Bed
Here’s a beginner-friendly way to build:
1. Cut your boards
- Cut your wood to the lengths based on your bed size.
- If you’re doing a 4×8 bed, you’ll need four boards for the sides and four corner support posts.
2. Assemble the frame
- Attach the boards to your corner posts with screws (galvanized or exterior grade).
- Use corner brackets if needed for extra stability.
3. Optional base
- You can leave the bottom open for soil to connect with the ground (great for worms).
- Or use landscape fabric to help prevent weeds.
- Some beginners use cardboard and mesh to block weeds. According to gardening discussions online:
Lay two layers of cardboard … then more cardboard or fabric … because grass and weeds will find a way
4. Level your bed
- Use a spirit level to check that the bed is level.
- If needed, add or remove soil to make sure it’s stable.
Step 4: Filling the Bed with Soil
Filling your raised bed is where wooden raised garden beds for beginners really shine—you can choose high-quality soil that suits your needs.
Layer strategy (lasagna style):
- Bottom: coarse material—twigs, small branches, or straw for drainage.
- Middle: compost or rich garden soil.
- Top: fine topsoil or potting mix—this is where most of your plants will root.
Soil mix tips:
- Use a mix of garden soil, compost, and organic matter to give nutrients and structure.
- Make sure your soil mix is well-draining but moisture-retentive.
- You can also add a slow-release organic fertilizer when filling.
Step 5: Planting and Maintenance
Once your bed is built and filled, it’s time to plant and care for your garden.
1. Choosing plants
As a beginner, start with easy vegetables: lettuce, radishes, tomatoes, and herbs such as basil or mint.
Mix in companion plants (like marigolds) to help with pest control.
Consider plant spacing: raised beds let you plant more densely.
2. Watering
Raised beds dry out faster than ground soil, so monitor moisture.
Use a watering can or drip irrigation. Consider a self-watering raised bed model if you want less maintenance.
3. Weeding
Weed regularly in the first weeks until plants establish.
Mulch the top with straw or leaf mulch to suppress weeds and retain moisture.
4. Soil care
Add compost or organic matter every season to refresh nutrients.
Check pH if needed, especially for vegetables.
If you live in a hot climate, add a shade net or plant taller crops along the sides to help reduce heat.
Step 6: Protecting and Extending the Life of Your Bed
- Seal or line the inside wood (if needed) to prevent rot: use a non-toxic wood sealant safe for gardening.
- Use corner braces or corner posts to keep the bed square and sturdy over time.
- Raise the bed on legs or bricks: if your ground is very wet, elevate the bed slightly to prevent waterlogging.
- Winter care: In colder regions, cover the bed with frost cloth or pull out plants and keep the soil covered with mulch.
Now that you’ve built, filled, and planted your wooden raised garden bed, it helps to know the different types available. Learning about these designs can inspire you to expand, customize, or optimize your garden for space, crops, and style.
Types of Raised Garden Beds
When starting with raised beds, understanding the types available can help you choose the right fit for your garden. There are a few main styles of raised garden beds you’ll encounter:
1. Freestanding Wooden Raised Beds
These are the most common types of raised beds and are perfect for beginners. Freestanding beds are simple wooden boxes filled with nutrient-rich soil. You can place them anywhere that gets enough sunlight, and they’re very easy to put together.
2. Tiered or Layered Beds
Tiered raised beds are great for small spaces or sloped yards. They let you stack multiple levels to make the most of your planting area. They also add visual interest and make it easier to reach plants at different heights.
3. Raised Garden Beds with Cover
Some wooden raised beds come with covers or lids to protect plants from pests, harsh weather, or frost. These are especially useful for extending the growing season or protecting delicate herbs and vegetables.
4. In-Ground Raised Beds
These beds are partially set into the ground but still use wooden sides. This design adds stability, helps the soil hold moisture, & keeps it warmer during cooler months.
For anyone looking to start gardening without the usual hassles, wooden raised garden beds are a practical and rewarding solution. They simplify the process, improve soil health, and make gardening accessible to people of all ages. By following this step-by-step guide—from selecting the right wood to planting and maintaining your crops—you’ll be well on your way to a thriving garden.
For anyone looking to start gardening without the usual hassles, wooden raised garden beds are a practical and rewarding solution. They simplify the process, improve soil health, and make gardening accessible to people of all ages. By following this step-by-step guide—from selecting the right wood to planting and maintaining your crops—you’ll be well on your way to a thriving garden.
Read more related articles> https://www.climatechallange.com/how-to-make-a-rainwater-garden/
FAQS
Q1: How high should a beginner’s raised bed be?
Ans. For beginners, 6–12 inches is usually ideal. This height allows most plants to grow well without deep digging. Taller beds, like 12–18 inches, are great for root vegetables and make gardening easier on your back.
Q2. Can I use treated wood for raised beds?
Ans. Treated wood can contain chemicals that may leach into the soil, so it’s not recommended for growing vegetables or herbs. Safer, durable options for raised beds include cedar, redwood, or untreated pine.
Q3. Can I use just potting soil in raised beds?
Ans. Raised beds are a mix of a traditional garden bed and a large container, so the soil you use should be a mix as well. Regular garden soil will compact too much, making it hard for roots to grow. On the other hand, potting soil is too light and fluffy for raised beds.
Q4. Do I need to line the bottom of the bed?
Ans. Lining with landscape fabric is optional but useful. It helps reduce weeds and prevents pests from emerging in the soil. If your bed has good drainage, you can skip lining altogether.